A couple weeks ago I decided I wanted to make a Michigan HOME sign out of wood!
Using items lying around the house I whipped this sign up in about an hour!
Here is how I did it….
Items
- 7 pcs of wood : 5 slabs of wood and 2 smaller slats for the back to hold the 5 together
- ScrewDriver/drill and screws
- 4 Vinyl Sheets , or 5 in case you screw up like I did (Jo-Anns or Micheals sells in packs of 3)
- Exacto Knife
- White Paint – Sample size is plenty
- Paint Brush
- Bracket to hang the finished sign
- Optional: Cricuit with letter cut outs – you can complete Step 3 by doing Step 4 if you don’t have a cutting machine it will just take a bit longer to hand cut everything
1. I went under my deck grabbed 5pcs of scrap wood , picked the which side I wanted to be the top and laid them top facing down
2. Then I took 2 slats of wood and laid them long ways across the top and bottom of the 5 pcs, this is how to attach the wood into a sign. I screwed 5 screws, 1 into each piece of wood, so a total of 10 screws. Also, I used 5 pcs of actual deck wood so it is thicker and heavier than pallet wood (next time I plan to use pallet just to see the difference)
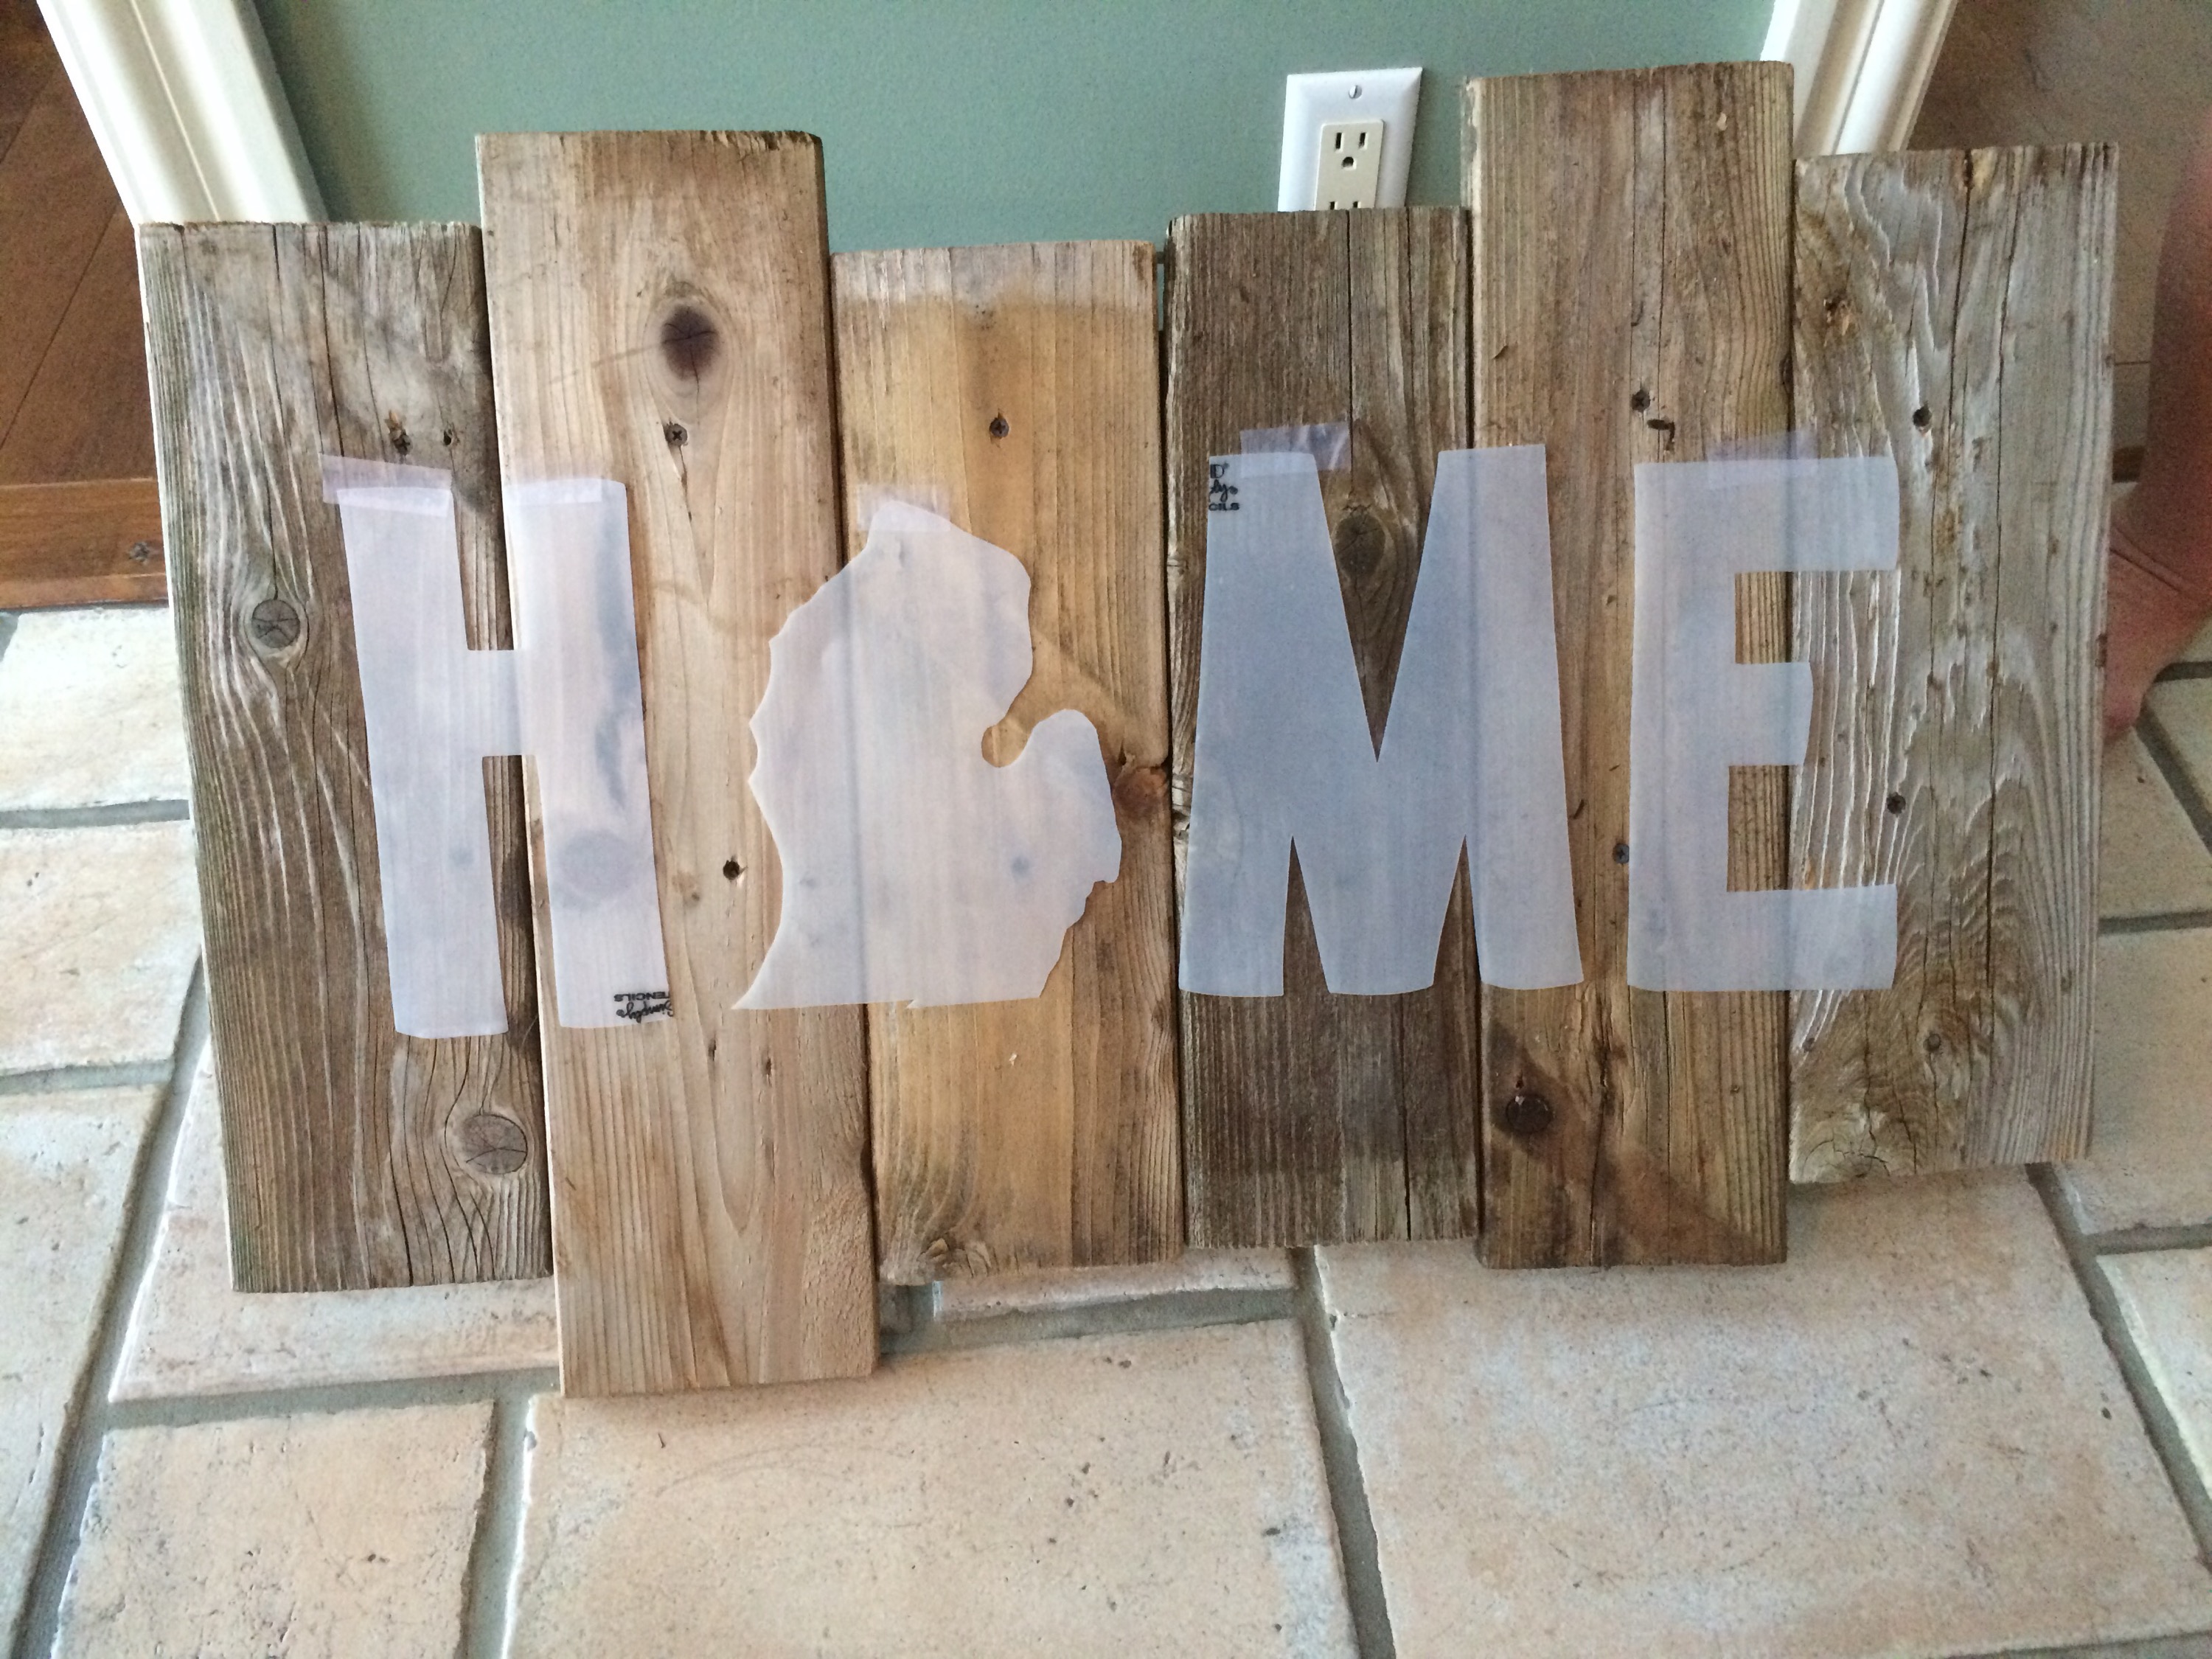
3. Next I used my circuit to cut out the letters H, M, E out of stencil paper. The size depends on how long your pieces of wood are and how big you want it to be
4. Then I found an image of the state of Michigan, printed it out same size as the letters I just cut out and. Lay the print out under another sheet of vinyl paper and used an exacto knife to cut the stencil out
5. Laid the stencil on the wood and taped it on and took white paint and painted the stencil in * Note to self, use 3M glue spray to attach stencil to wood! then the small corners you don’t have to worry about getting paint under them and having to paint very carefully
Voila!


*Yes I know I didn’t do the UP, what can I say I liked just the mitten 😛

